 |
 |
 |
 |
 |
 |
 |
 |
 |
 |
 |
 |
 |
 |
 |
 |
 |
 |
 |
 |
 |
 |
 |
 |
 |
 |
 |
 |
 |
 |
 |
 |
 |
 |
|
|
Putting It Together....Ooops |
|
|
|
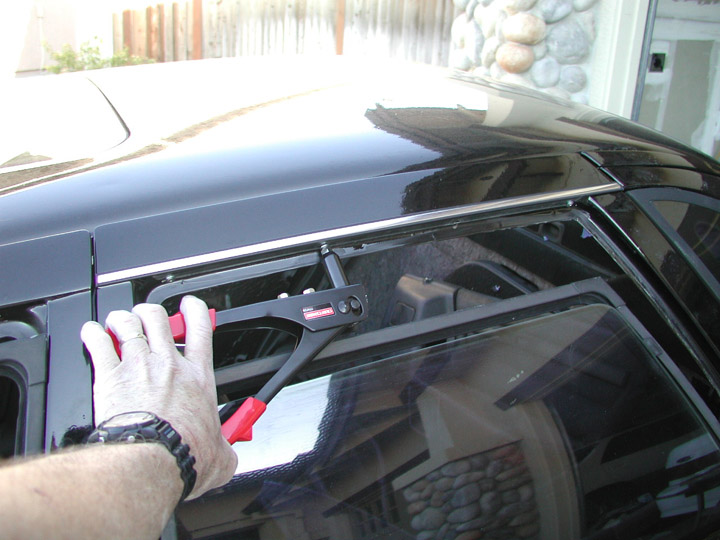
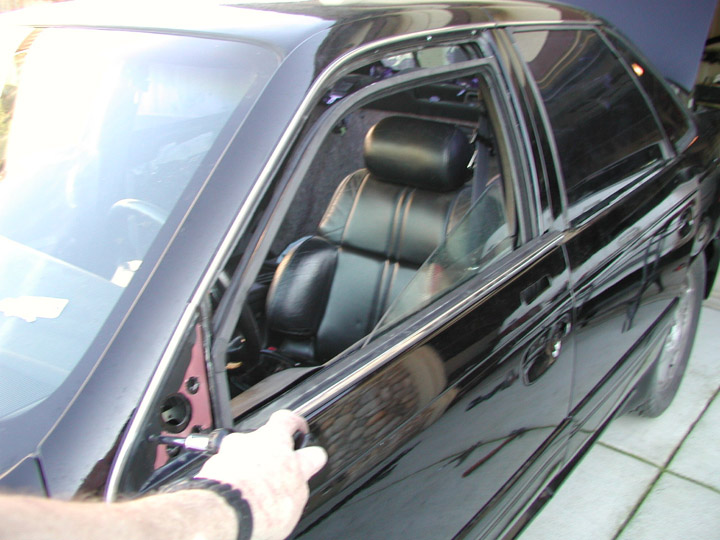
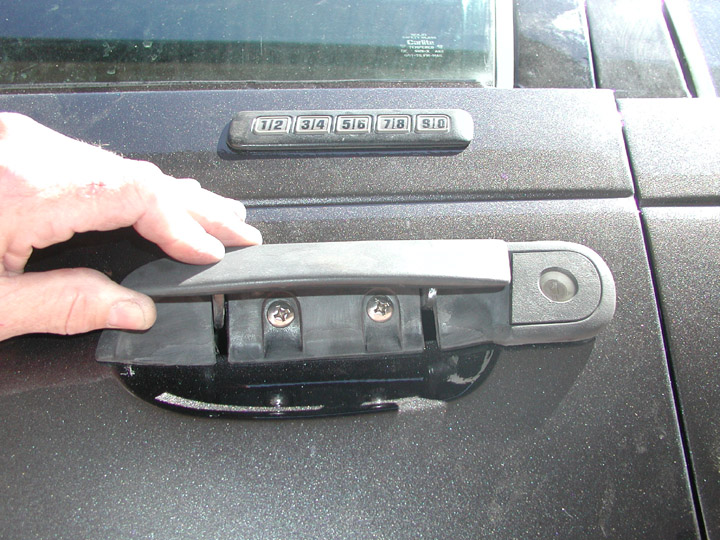
It has been a long time since I have done this....basically building a car from scratch (except that it was already assembled)....so I kind of forgot the procedure, and got into a wheel-spinning syndrome when starting to work on it after it got home. I didn't know it was going to need to be repainted until I got a bunch of stuff installed, like the window trim, the doorsill moldings, and the door handles. Basically, I should have buffed the paint first. I had decided to install the door handles with stainless steel bolts and nylock nuts, rather than the factory rivets that it came with, and that was a good thing, since they had to come out again. But overall, I spent about 6 hours over a couple of days assembling the exterior trim, then I had to take it all off again when we found the waterspots. Oh well....it just meant that I would have some extra (like I needed it) experience in installing those parts, and it would take less time the next time I did it. (My glass is always half full, not half empty!) |
|
|
|
 |
|
|
 |
|
|
|
|
|
|
 |
|
|
|
 |
|
|
|
|
|
Having taken Lowrider apart at least 3 times for painting, and also having been to the Pick 'N Pull every week or so, I am familiar with taking doors apart and putting them back together. So I didn't mind too much having to disassemble all of the exterior trim to take the car back for repainting. The mistake I did make after it came back in graphite was that I assembled it again before buffing it out. The powder and buffing compound gets into the textured surface of the door handles and gives them a dusty gray appearance, which takes away from the clean black look of all the trim. It also gets under and next to the stainless trim, and is hard to clean away from there. I've cleaned a couple of them up now, but that is a lot of work, and it is tedious with the handles installed, and it is very easy to damage the paint adjacent to the plastic if I am not careful with my cleaning equipment. |
|
|
|
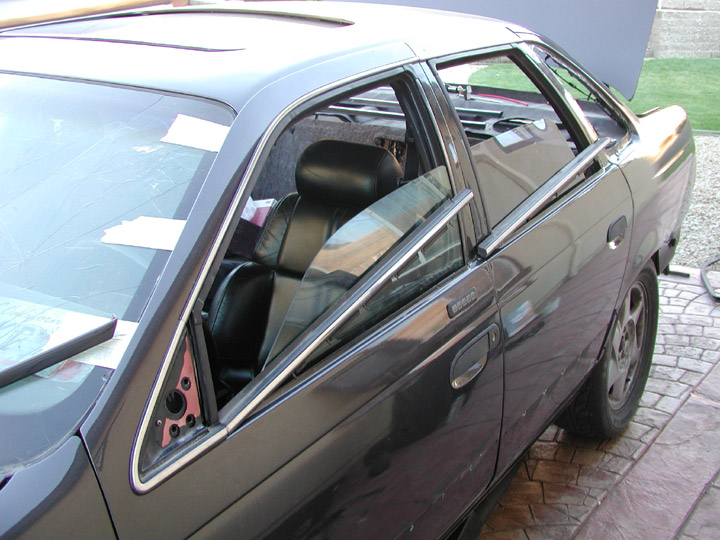
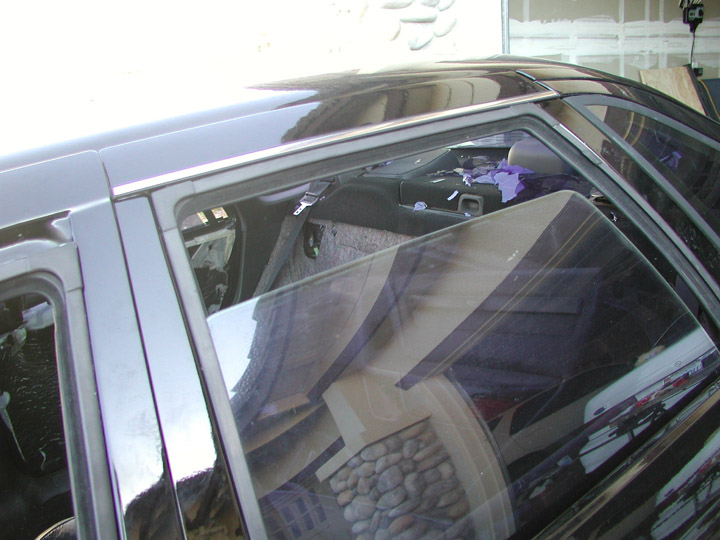
To the left is a finished window 'system', with trim, window run, and doorsill moldings all installed. The window "run" is the black metal/rubber combination molding that the window rides up and down in, and does the sealing when the window is closed. Those are parts that I notice in East Coast cars that deteriorate from the inside out. I will be bringing two or three sets of runs (4 pieces, one for each door) to the next convention, in 2008, for sale to those who have cars that need new ones. They are the same in all Tauri, sedans or wagons, and are cheap at the PnP....about $2.50 per linear foot. They are considered trim moldings, and go for that flat rate. I can also get doorsill moldings for the inside and outside for the same price. Once I learned how to remove and install them, I could disassemble a door at the PnP in about 10 minutes. It takes a bit longer than that to assemble the door, because the run pres-fits into the door frame, and it can be bent, but with care, a door can be rebuilt in half an hour or so. It is a cheap restoration fix.
In this case, I had to take it apart again, because the car is still black. Grrrrrrrrrr!! |
|
|
 |
|
|
|
|
|
|
Rear Door Latch Linkage |
|
|
|
 |
|
|
|
 |
|
|
|
|
|
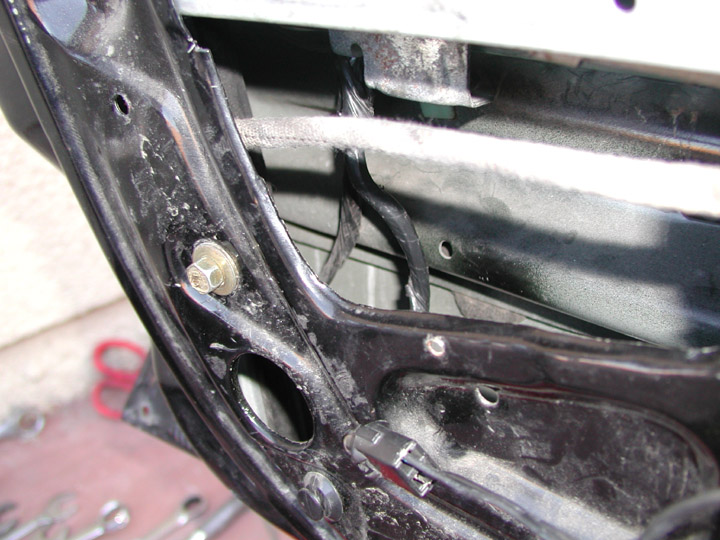
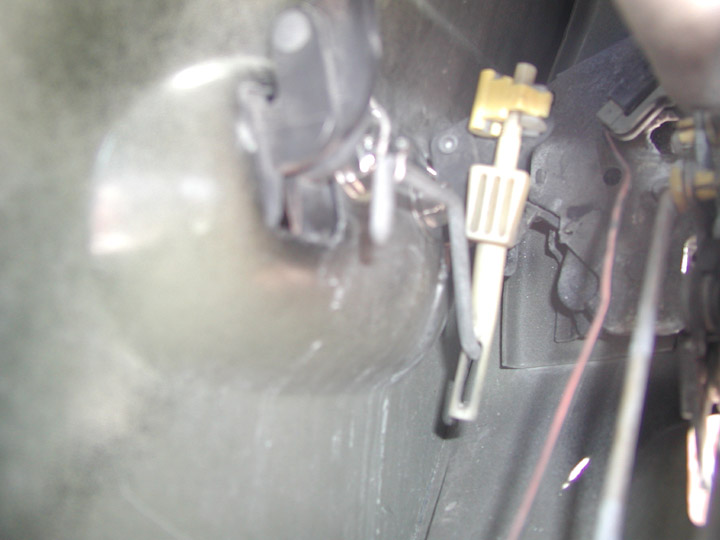
The rear door latch mechanisms were REALLY fun. The fronts are no problem....there is a vertical rod that comes up out of the latch itself, which is about 8 inches below the handle. When you pull the door handle up, it pushes the rod down, and releases the latch. The rears are totally different. You can hear the difference when you open the door....it kind of creaks when you pull the handle up. The plastic bar shown in the picture at the right, above, pushes down on the horizontal rod with the jog in it....the jog goes through the bar...and pushes down on the same section of the latch that the vertical rod in the front door does. But what a rinkey-dink setup. The white bar is plastic, and will harden and get brittle with time. Plus, the snap clip at the top has a small round tab that is swedged (for lack of a better word) into the door handle, and that joint can break....it is about 3/8ths of an inch in diameter. If it does, you have to get another door handle from the PnP.....Tauri parts are obsolete, remember!!?? A friend with one of my prior fleet cars needed this fixed, and it was a royal pain. I had to go get the white rod, plus another door handle from the PnP....I had to drill out the rivets that hold it to the door. It was educational, to say the least. Plus, with my gimpy right hand, it was doubly hard. I couldn't get my hand into the best position to work in that area without great difficulty....thanks Kaiser!! You can see, or at least get an idea, from the picture on the left, how little room there is between the two halves of the door, inside and outside layers. There is only about 3 inches of clearance, and that mechanism is way back in the upper rear corner, far beyond the access hole with the wiring and the white latch rod.
As an aside....I haven't had to do this yet.....the rear door lock actuators that lock and unlock the rear doors with the lock button.....you DON'T want to have to swap one of those. The door must come COMPLETELY apart (excluding window), including removing the latch linkage from the inside handle. I did that a long time ago at the yard just to get one for stock. I just bent and cut metal to get it out of the way. If I needed to have that door working when I was done, it would have taken all day to get it installed. |
|
|
|
 |
|
|
 |
|
|
|
|
|
|
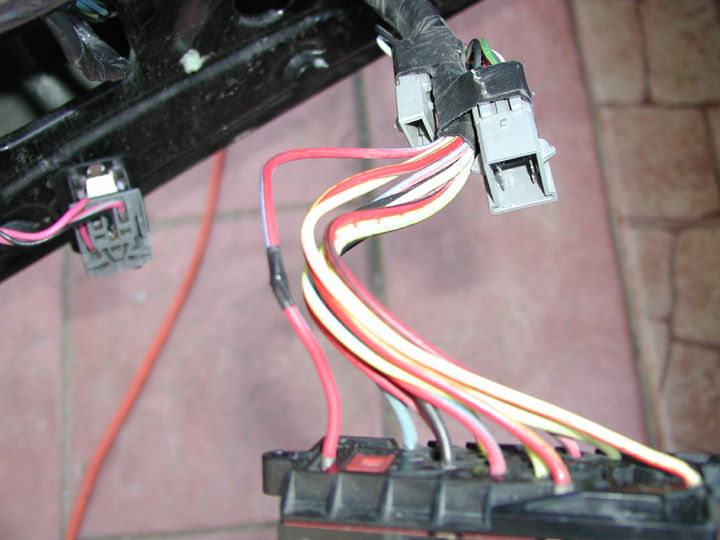
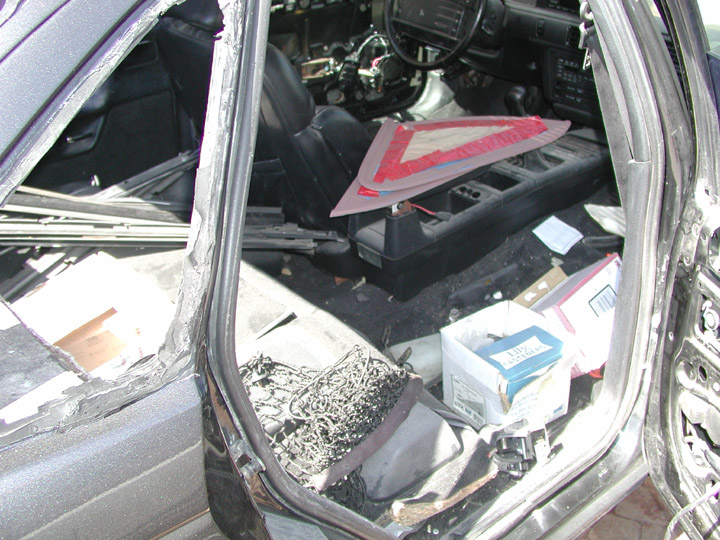
OK...I finally got the doors back apart, or at least the window runs and trim out. I had also installed the interior panels, using new panel buttons I had gotten from Torrie. So, after taking them off, the buttons were wrecked, and also another problem started to appear....fatigue of the window motor and door lock wiring, as evidenced by the spliced wire in the driver's door power window switch connector shown above right. That poor devil (the switch/connector combo) had been riding in one of the notches of the inner doorframe for the last 3 years...back and forth...in and out of the door...twisted left and right, and the small metal connectors in the connector body were getting pretty cranky. Finally the red and blue wire connector broke, and I had to go to the PnP just to get that one wire out of another power window switch. It's time to GET THIS CAR TOGETHER!!!! It was getting to be kind of depressing even just walking up to it....looking inside the cabin and seeing the garbage all over the place. I had gotten a pair of new(er) quarter windows, and had masked them up and started painting them with the rubber rejuvinator and black rubber paint. They were definitely better when I finished than when I began, but as I said above, during one trip to PnP earlier this fall, I found a pair of immaculate quarters, and grabbed them. So I have this spare pair for a Plus, as well as the original SHO non-shiny pair that came out of this car. The SHO originals need to be rejuvinated, but they are available.
I got tired of looking at that mess.....all I ever did when inside the car was move the stuff from one place to another while working....anyone else ever done that???? It's time to START BUFFING!!!! |
|
|
|
Back Next Home |
|


